Sup! Rintare in da building. So, I said I was going to share the process behind my Shiro crown that I made for Katsucon 2015 and here it is! I really wanted my Shiro to resemble the figure more so than the anime, so I pulled my references for the crown from the figure.I guess I'll try to make this as tutorial-y as I can. Sorry in advance for lack of pictures as I didn't capture every single step of this!
Stuff I used:
- Craft foam (I just used a few yellow sheets from Michaels, but I painted over them anyway so it doesn't really matter!)
- Xacto knife or something to cut with precision
- Spray paint + primer
- Wire (I'm not too sure about the specifics of the wire, but it is slightly thicker than a wire clothes hanger?)
- Gems!!
- Craft adhesive of your choice (I used a hot glue gun)
- Aligator clips for putting the crown in your hair!
So first I made a paper mock-up after Kuritare did some dimensional analysis on the figure to match the size to me. Despite all the number crunching, I still needed some adjustments because well...I'm not an anime figure and I'm much taller than Shiro. I made...a lot of paper mock-ups before I was satisfied with all the angles. The structure is strange because the crown is not a complete circle. Shiro and Sora apparently break a crown in half, but this crown is really far from being a half circle. It appears to be about 7/8th of a circle, just enough room for a ponytail to fit through.
After tracing the mock-up onto the foam, I drew the mock-up again with the decorative ridges (? I guess I'll call it that).
 |
The crown is made up of 7 pieces.
I laid my mock-up on top of the foam to trace! |
 |
The decorative piece was cut out separately from the 7 crown parts.
It was one continuous and very narrow piece of foam,
so the tips of the crown where VERY fragile. |
So, in total I had 9 pieces of foam: the 7 pieces, the long, skinny, and fragile decorative piece which also helps to hide the separation between the 7 main pieces, and a backing piece which I used to glue the main 7 pieces onto (so they have something to align to) which is not pictured, but you'll see it later.
 |
Here's a tiny mock foam crown I made to test.
I'm like a fairy god parent! |
Next, I painted all my pieces! First, I went over each piece with spray paint primer (it's white). I think this also helped fill in the porous foam as well to make the crown look smoother. Primer and two coats of gold did the trick.
 |
| A quick paint test on a foam strip. This is two coats after primer! |
 |
| Liquid gold *v* Also this is the paint I used! Shiny gold cap! |
 |
Here is everything all painted and laid out!
Ready for assembly! |
Now I just glued and glued and glued! Below you'll find the picture of a main crown piece as I glue it to the backing piece. I decided to use two pieces of wire because I didn't want the crown pieces to be teetering on one piece of wire. So, I glued the wire to the backing and then glued the pieces on. Finally, I glued the decorative piece on. I then CAREFULLY bent the whole crown into the right shape. It was very scary.
 |
| A glimpse of the backing piece and the wires. |
 |
| PHEW!! |
 |
| The ponytail clip for the wig fit perfectly in the gap. |
Great! Next, I had to pick out the right gems for the job! Luckily, my big bag of gems from Michaels had all the large gems I needed and Lili gave me some small oval gems as well. Because I used premade gems, I obviously wasn't going to be accurate, but I think they did the job just fine. Making your own gems can be expensive and time consuming!
 |
| BAG-O-GEMS (spilled out on my desk) |
 |
| Tada! all gems glued on. |
 |
Here's a sample of how I attached alligator clips.
I used 2 for the finished crown. |
Our friend
Shifty Cosplay also asked me to make him a Sora crown. The process was similar except I just made it one huge piece of foam. There's a back piece and wire as well.
 |
| The gems were pretty off for this, but..eh. |
 |
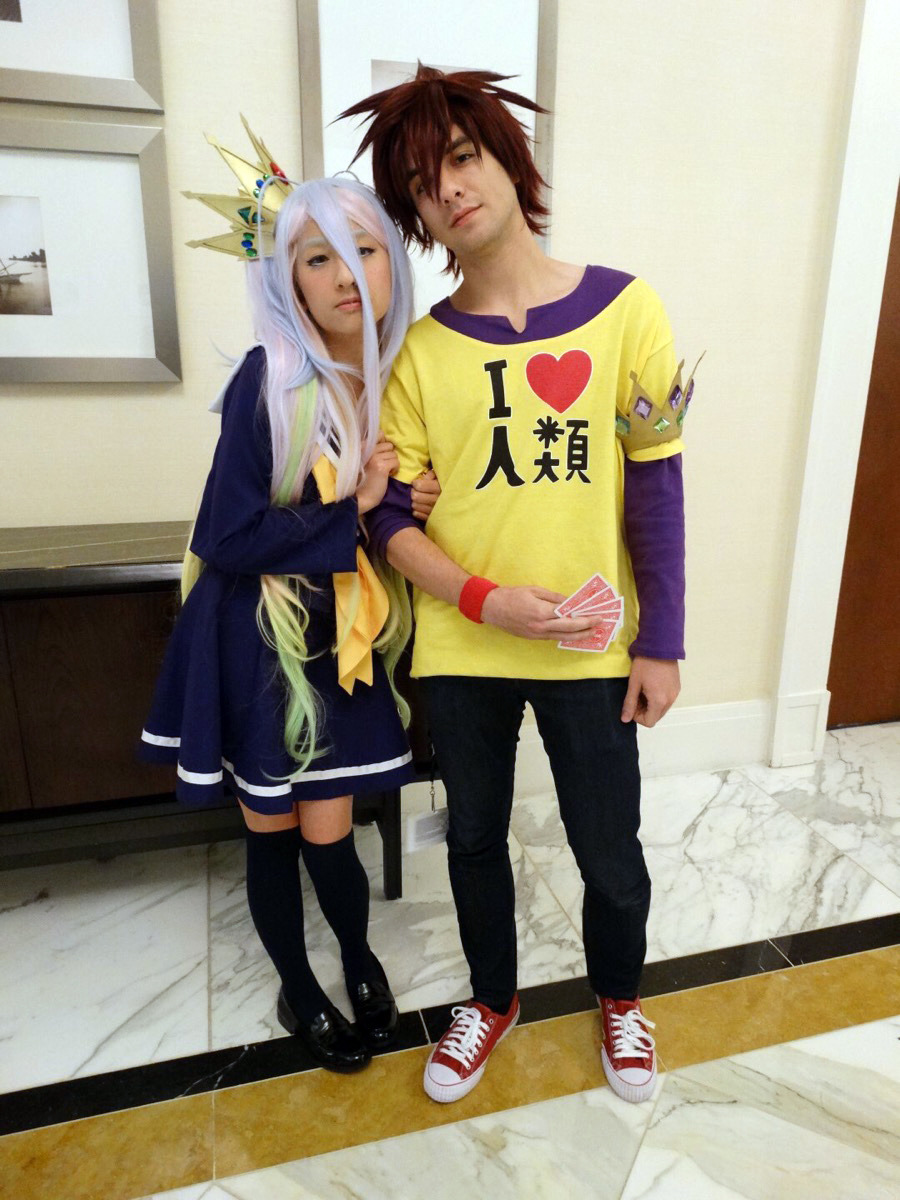
| Crown debut in our Katsu hotel room! |
Thanks for reading! I hope you found this at least somewhat helpful! I would be happy to answer any questions about it too. (= 3=)
pce


hello is it okay if i pay you to make it because i tried a few times but it didn't work out for me :(
ReplyDeleteSorry I don't do cosplay commissions because I have very little free time unfortunately :(
DeleteBe sure to read or watch a lot of tutorials about the materials you're working with as well!
Thank you so much for posting this, I have been looking everywhere to find way to make Sora's crown and with this I finally found it
ReplyDeleteGlad I could help in whatever way!
Deletehello is it ok if u show a bigger picture of the piece of paper you used to make sora's crown shape, i cant get it right
ReplyDeleteSorry I don't have any more pictures and sorry for the late reply! All I can suggest is maybe try to draw out different shapes with paper wrapped around your arm or a friend's arm to help you get a feel for the proportions you want.
DeleteCan you post the design you used to cut?
ReplyDeleteSorry I don't have any more pictures of it! Your best bet are probably the first two pictures and the seventh picture that shows the individual piece. I mostly eyeballed the angles and made a lot of adjustments before I went on.
DeleteSlightly off topic but where did you find/get the shiro wig from? I cannot find one with green ends anywhere ><
ReplyDeleteIt's from Lucaille!
DeleteHello! This is a very helpful tutorial and your cosplay looks amazing! I just have to ask, what kind of primer did you use? Thank you!
ReplyDeleteI don't really remember but any spray paint primer should do. Additionally, I would recommend plastidip (spray can) as a primer to get a smoother surface! Hope this helps.
DeleteHii! Where did you buy the gems?
ReplyDeleteThank you ^^
From Michaels but you can probably find them at any craft store in a big assorted bag!
Deletei have no clue where to buy gemstones in the philippines, do you have an alternative? also pretty cosplay btw <3
ReplyDelete