


As a kid I always had some chuunibyou. Well, just the part where I pretended to have special powers and imagined various objects as weapons of dark energy or something. So yes, my imagination ran rampant as I was young. It was always awesome to have some kind of wooden sword to swing around. Finally in my first year of college I decided I had the money and time to make my own awesome toys. Originally I saw a video on how to make a simple wooden sword. This looked like a lot of fun and applicable to what I wanted. Although Amon's sword is a curved blade, the beveling (slanted edges) part of the video gave me ideas.
So here I will run you through the process and a couple of WIP (Works in Progress). If you don't care for all that, the final product will be at the bottom.
--------
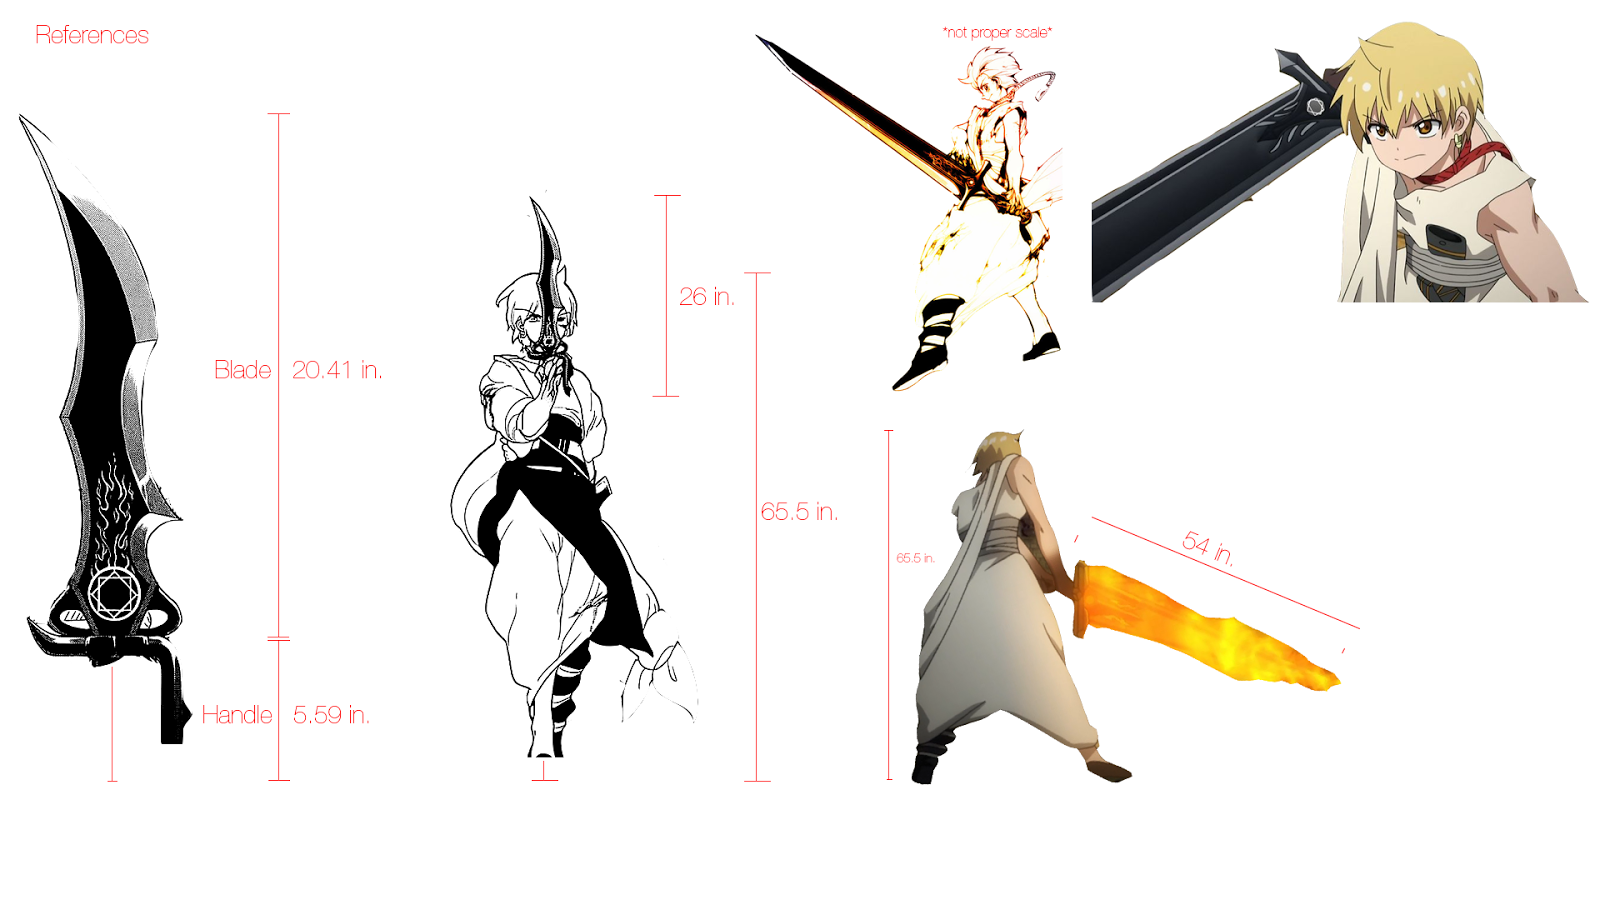
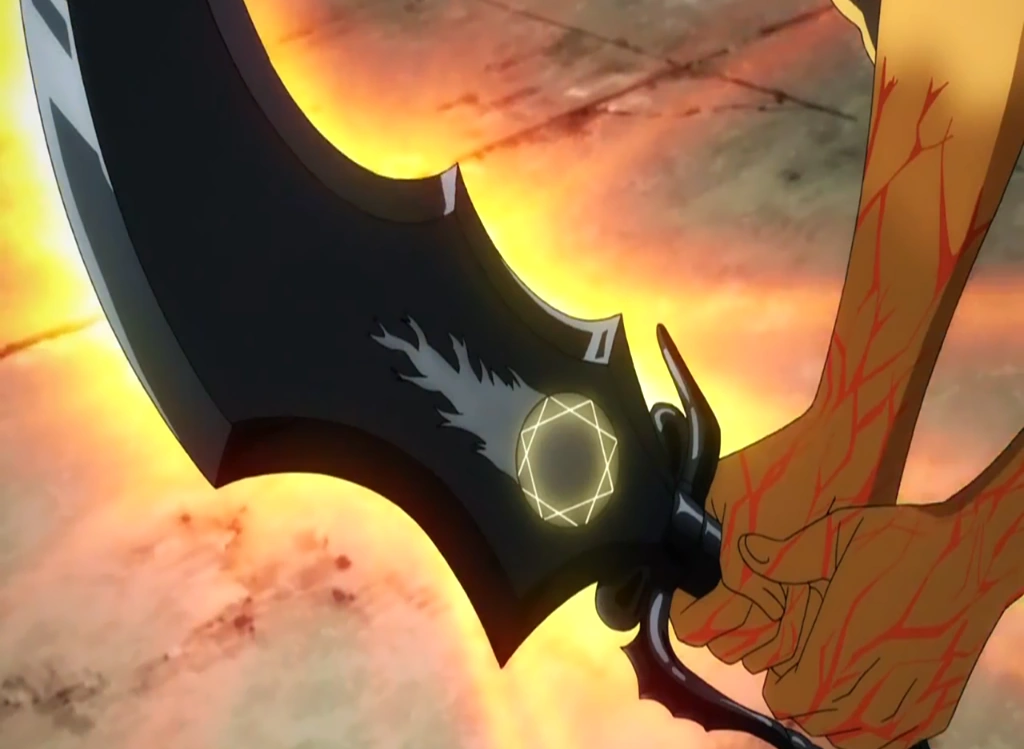
So first step was to figure out its dimensions. I put a lot of work into finding the right model I wanted. The picture above is actualyl one I never looked at as the anime and manga have variations. I decided on the smaller sword, as many people were telling me that making the large sword out of wood would be too heavy. However, at this point I don't think it would be too bad for me. I decided on the smaller one, and was going to make it to scale for Alibaba. Lucky for me, he and I are actually the same height so calculations were precise. I had a lot of trouble finding a perfect picture with the handle, so I guessed the size on my own.

The calculations became very hectic because I had no idea where to put what. I started to create points of where the arcing began and measured their distances so I could use a protractor to plot specific points.
I took all the calculations on the left and transferred it to some super heavy duty cardboard. This was a huge mistake because it took me forever to cut out. But that chuunibyou got me and when it came out I was swinging it around like a little kid. It would be much more beneficial to me to trace and cut it out on perhaps some solid construction paper since I was just going to trace it on to some wood.
The next step was transferring it all to a piece of wood. I went out and bought some pine wood, which is pretty solid, and traced the design onto it. The piece I got was very cheap, about $3 and probably had enough wood to make 3 swords.

This was the piece all cut out, with the hilt very long so that I had extra space to clean it up later. I used a jigsaw to cut out the shape accurately. Next was to put the details on it. So for the bevels I used a hand sander that I tied down to a bench and went away, kind of like in the video. It was pretty easy to get the edges lined up, except for the part with very sharp turns (bottom front). Because of this, the sword is a little sloppy there.

So the first picture here shows the edges done on it. I applied a little too much pressure on the hilt and it broke, so I just put a nail through the handle and attached them again. I then sanded it smoother and shaped the handle appropriately. I applied about 3 coats of black spray paint and let it dry for a long time. The rings at the bottom of the blade were tough and turned out not smooth. I had to hand file them down after cutting appropriate sized holes.
Finally after it was pretty much done, I smoothed it a little more, and Lilitare helped me apply the white decals on the front. Originally I thought a stencil would do the trick but I was struggling trying to make the right stencil.
--------
And finally the final product!

It went through a bit of damage during the con (drunken swinging) but it survived and looked pretty good for my first prop. It now hangs proudly over my bedside. I know the process was lengthy and maybe a bit boring to read if you did read it.
Thanks for reading everyone!

No comments:
Post a Comment